Showing posts with label 1/72. Show all posts

Jun 22, 2026

Second Hand Swedes


As you may or may not know, I have a 1/72 scale WSS/GNW project running, with actually quite good progress, only I hadn't properly photographed everything. The figures are safely packed away for now in a 8l plastic box.

I got the 'From Narva to Poltava' big box made by Strelets for last Christmas (among other things), and this includes twelve Swedish pikemen and the same amount of musketeers. For obvious reasons, this is not the best distribution, chief among them the fact that my sixteen-figure units contain one central element of four figures and two 'wings' of six figures. 

(Of course it means different base sizes within a unit, but my OCD wouldn't let me get away with the command element not being perfectly in the middle.)

As I completely ran out of Swedish musketeers (that is because I traded my GNW collection for some Perry HYW figures IIRC before our previous move), I had to find more. Zvezda, being a Russian company, does not really import anymore to the EU and they only re-released their stuff once some time ago, so resources are scant.

As mentioned on the 'Carp to Gold' build log, my significant other convinced me to register on the second hand marketplace app Vinted, and just by searching for Zvezda, I hit the jackpot: not one, but two sellers offering used GNW Swedish figures.

I bought both and they were with me in a little while, about sixty figures in total (plus a complete unused box of Swedish artillery, and thirty-odd Streltsi, all for good use). I washed them, removing some of the old paint, and using the remaining unpainted Strelets pikemen, organized them to battalions, trying to maintain similar poses throughout. I made the above reference picture before stowing them away, but fortunately I could find a box with internal compartments, so I probably won't mix them up.

The wonders of the internet I guess! Now, on to painting them (after a unit of Russian foot, test pieces for my AK Mint Green colour, and two more Saxon infantry are completed, among other things)...

May 11, 2026

Found at a second hand clothes store...

My wife and I scour second hand clothes stores (a local brand) regularly. About 90% of my clothes are from there, good value for the money.

We recently went to one of the stores and in the miscellaneous bin I found this Airfix kit. The price was weight based so I thought why not? With a pair of Disney toys I thought I could use for terrain the entire ordeal cost me about 8 euros.

As you can see the box was banged up, but I peeked inside one split corner and saw a nylon wrapper, so I had hope...


Et voilá! Everything is here and - which is the funniest part of all - in the original wrapper, undamaged. A 2010 issue Spitfire Mark Ia gift set. It even has the decals, paints and glue.

I don't do much aircraft modelling, but this very same Spitfire was one of the first models I built when I was little, so I might just complete it for nostalgia's sake. 

Apr 2, 2025

2 Atak Kampanü, I Bertoldu Armored Battalion, 1st Independent Ebhardu Cavalry Brigade


This time a post with a picture. I made 1/32 versions of the same vehicle before, but now I completed an armored company with the G-93 Kontot Kombatot for my 1/72 collection.

There are four tanks in a Jazygian interwar armored company, but they are supplied with variants on a sort of ad-hoc basis. 2/I/1 Atak Kampanü has the following, from left to right:

G-93ac Ozmot "Rinokerüs" - An open top variant, with the HMG at the back of the vehicle, a 3pdr anti-tank gun on the right side of the chassis, and field modifications to break down hedges. The figures are HäT Prussians with modified caps.

G-93c Astaba with open turret and radio antenna - commander's version. Its frontal armor was strengthened by adding sandbags. The commander is a Zvezda Russian female soldier and she can be taken out of the vehicle.

G-93 reserve/engineering/close support vehicle - standard armament, but with a medium mortar bolted to the undercarriage, sort of a makeshift SPG. This one's got some Green Stuff World shrubbery glued to the front, and the figures are cheap Chinese knights with green stuff modifications.

G-93c Astaba, standard version, closed turret.

Soon the company will roll out on a policing action along the Ahbanian border, we shall see what comes out of that...

Oct 7, 2024

Flossian Union Foot Battalions


The lesson of this post is that the most important thing about painting miniatures is not to stress oneself out over the matter. It is a leisure activity after all, and the great majority of us don't paint for a living. 

I found out that I still had more than five hundred(!) 1/72 eighteenth century figures from various produce, and since I sort of hit a painter's block with my TYW/ECW collection, these came in handy for a change. Some were painted and needed touching up only, some were primed and some just bare plastic. 

I did not really have a plan for them, until I made the mental connection with my Schultze-Böhnstadt Imagi-Nations setting, so here they are, three dozen figures in three battalions of the Flossian Union: a regular fusilier, a mercenary Glambrian and a local militia unit.

Jul 1, 2024

WIP - G-93 Kontot Kombatot Armored Company for Jazygia 1919


I recently found out that I have a bunch of WW1-era vehicles and figures hidden in various parts of my stash, so as a side project, I began building suitable vehicles for an early 20th century Jazygian conflict.
You might remember the Kontot Kombatot G-93 from my earlier posts, a handsome and utilitarian vehicle I originally designed for toy soldiers - well, this is the 1/72 version of that very same.

On the left is a G-93c Astaba version with a one-man turret and auxiliary MG. It has additional track links on the front and rear for extra armor protection, a stowage bin on the right side and a pair of logs on the left (mostly to cross ditches).

The other one is the G-93b Ozmot, which will be the company commander's vehicle, the commander being the driver in one person, one further crew member servicing the 3pdr anti-tank gun, and a third one manning the hull-mounted LMG. I converted two spare Napoleonic figures for the crew, and also have a Zvezda female partisan somewhere, she will be the company commander. 
The large pointy things on the front are not factory spec, they were added by the crew to tread down hedges and barbed wire.

A standard Jazygian armored company consists of four vehicles, the rest of which I'll build to be a standard version, and the anti-armor hardtop variant, the G-93b Korkodil.

May 16, 2023

Pimp My Dinosaur


A while ago I had the idea of fielding large reptiles along my fantasy-esque 1/72 armies, mainly built of figures bought from Aliexpress. Of course, these reptiles would be suitable for 28mm games as well, such as the Stegodon-like thing presented here.

It is from the higher end of 'Made in PRC' toys, as its neck, jaw and other appendices were posable to some degree. This, unfortunately, meant leaving huge gaps around the joints, which I filled with greenstuff, then textured. Improved the look a lot, just as overpainting the crappy paint job did. I think the hues are really cool, and I even painted the eyes.

Now let's root for the creature because the hungry Orcs would be arriving at its part of the jungle soon...

Sep 19, 2022

The Dark Gate of Trashburgh


We enjoyed a meal of Aldi puddings and I really liked the shape of their packaging. Thought followed thought, and, since I had not done anything major terrain-wise since our move to the new place, I scavenged around and came up with the idea of making a small gate for the adequately named city of Trashburgh. On the image above, you can see the beginning stages of the build.


His Grace the Duke of Rotstein decides the build is proceeding well enough for a personal inspection. The gates will mostly be used for him and his pals to run around in an urban environment, sticking rapiers into each other.

As humidity builds up inside when PVA and the secret ingredient cures on the sides of the things, I had to drill them through at a few points, but this shall not detract from the overall effect.

The base is a piece of foamcore from the stock Dad used to renovate their bathroom. You know where the pudding jugs are from; the tower tops are 2mm balsa, around which I glued some EVA foam and decorated it with 1mm balsa strips. The bulwark is made from the same type of foam, and the gate and main wall piece are corrugated cardboard. And, of course, we must not forget about the secret ingredient.

Why yes, the secret ingredient! It's an artist's acrylic medium called "heavy body gel". It can be used to fill in large gaps and dries to a hard finish. It's great for texturing as well. It can be shaped with a spatula or fingertip for the less sophisticated like myself.

Once I added a few more bits and pieces, I'll cover the walls in a stone effect plaster and paint the thing to an eggshell colour, or some similar shade. 

Jun 20, 2019

War Galley


This is the war galley I built during the holiday. It turned out to be a bit too narrow but I can fix that with the oarsmen having smaller bases.

Jun 18, 2019

TYW Stuff


I've finished a few figures for the Thirty Years War, here they are in good order. First, some Zvezda and ACtA infantrymen, in groups of twelve for skirmish games like The Pikeman's Lament.


Next up Revell and Waterloo1815 cavalrymen. The Revell fig has only been washed and highlighted and is from a previous batch.


Some more Zvezda pieces, here you can see conversion work with the arms and bodies a bit more. It's entirely viable to give matchlocks to armored pikeman bodies and pikes to the musketeers, the rest is done with a bit of filler.

Jun 7, 2019

Completed Musketeers


These are the Ultima Ratio figures, nice overall quality, the flash was kind of difficult to remove but they painted up nicely. I did the bases a little more later.

May 3, 2019

Musketeers WIP


These are the Ultima Ratio musketeers. Pretty fine figures if you ask me, but they don't take acrylic paint too well. They need at least two layers of varnish before basing them. I think I'll visit my favourite railroad modeling shop and get some fancy tufts as well.

Mar 15, 2019

SYW/GNW figs

Here's a makeshift post with a makeshift photographing setup, four units of various 18th century bits, Revell and Zvezda figures. These were done a few months back but I was lazy to make a post about them.
I'm really glad Zvezda re-issued their GNW boxes, it looks like there is a demand for these and I may just pick up a few next month.
Same thing with the Revell re-issuing their old SYW figures, very useful and cost effective, if not the prettiest sets.


Mar 8, 2019

Stink Bug Invasion

Just a quick post before I head off for a weekend trip, springtime is here and so are the nasty stink bugs that get through every obstacle and make Central European people's lives miserable...

When I opened up the box full of swag from Drum&Flag (a very friendly online retailer if you are interested in 1/72 bits like I am), I was quite surprised. I ordered one box of used HäT Renault FT-17s, which should have contained two tanks according to PSR, but there were four instead. I got them for the hefty sum of £3.50. In this dark olive green state of theirs they remind me of the dumb little stink bugs that crawl around aimlessly. And their speed also matches.

I had to use sprue rubble melted down in paint thinner for glue, as I ran out of superglue and of course completely forgot to refill. But still, here they are, holding up quite well. 

Feb 3, 2019

Ships for the Siege of The Rock


I've constructed and painted the bomb-ketch and a 6-gun brig for the siege of The Rock. 
There was a long progress report about how I built a multi-deck ship, it's basically the same for these. I start with a thick balsa bottom, cut out the sidewalls from decor rubber and cardstock, add some tidbits and then paint the thing. I paint the cannon separately, and on the brig I did the upper masts and sails separately as well - just in order not to ruin the paintjob on the hull.


There is always a degree of simplification on these. If I did everything completely accurately, I could not move the figures around. Just think about that they have to be put on at least 20mm bases, and there's lots of narrow spaces on a ship where someone could barely move. You see what's what, you get the basic functions and that's it. One thing I don't like however is tubby little ships that look like they were squashed from front to end. 

Jan 27, 2019

Constructing the Rock Pt. 6


The port is almost complete. I had some trouble lining up the planks to the island's edge. My battery is low so I only made this pair of photos - one of the bomb-ketch that will be used to suppress the gunfire coming from the top of the rock. Being quite adept at making ships and knowing what materials to use, it does not take very long to produce them - this is about half an hour's work.


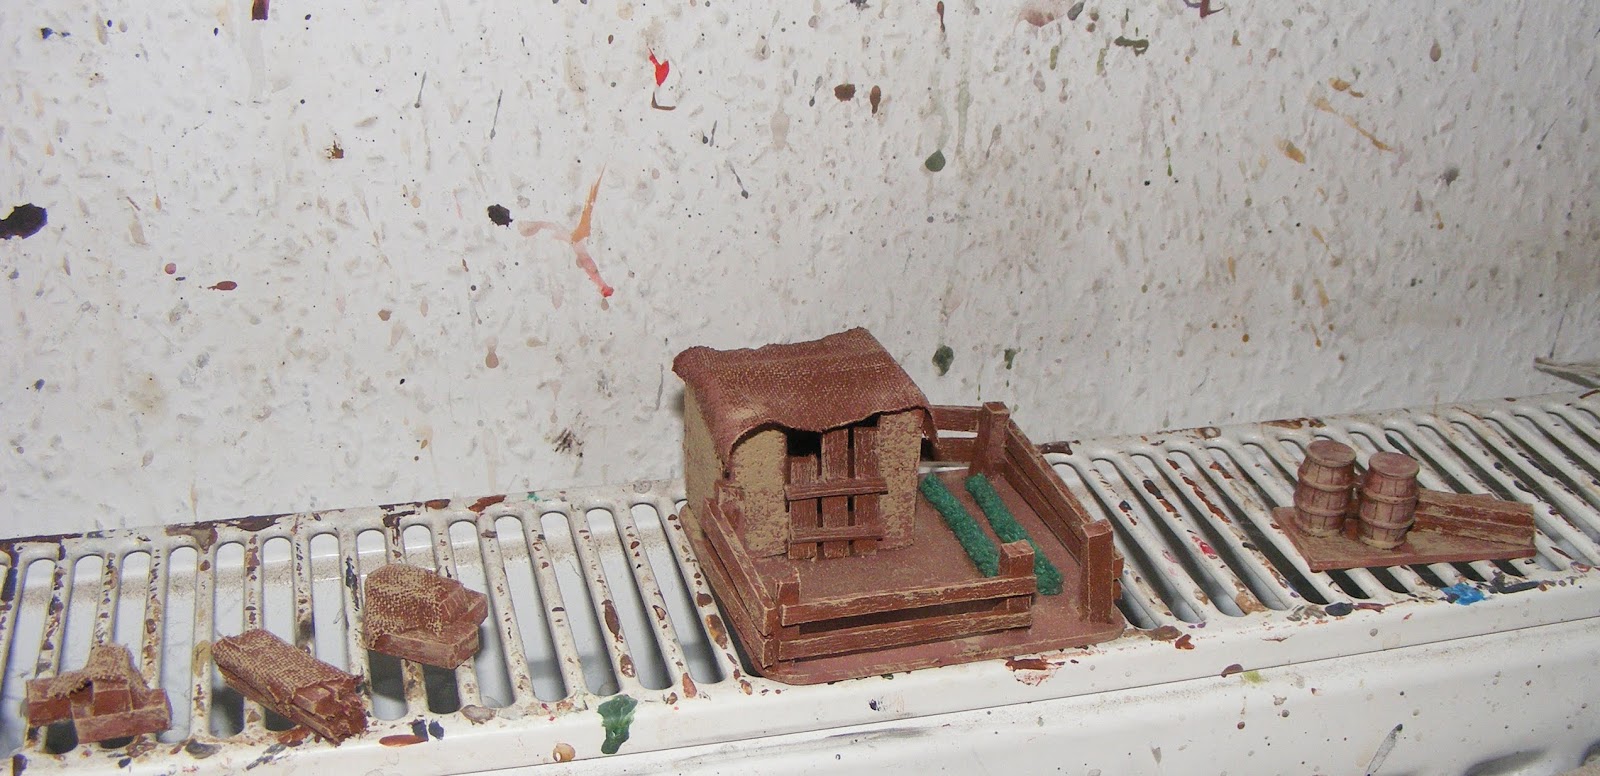
And one of the various storage laying around the port side, and the small farm. It's more like a hovel at this point, but I found a ready-made base so I worked with that. All I need now is some flock on the island and the wall at the corner of the port.

Jan 19, 2019

Constructing The Rock Pt. 5. - Test Assembly


I'm about 90% done with this project, which is good because I want it finished by the end of the month. Here's what's completed and what is lacking:

I need to finish the farm and port section. I think there will only be a single ramshackle building at the port and the farm will not be too large either. Now if you look at it, the island lacks vegetation, which can be remedied by adding static grass and the farm will have some green pastures as well. 

On the other hand, I've completed the cliff with its removable top (it can be used as a walled garden or somesuch in other games), and painted the internal space as well - it has a nice consistent look. I just used bright brown (cheap acrylic paint bought at a supermarket and titled 'Martian Brown') and sand for most of the groundwork, and grey, sand and white for the cliff and buildings.


And here's the small island with the rotunda complete. I cut out the walls from a single piece of pink foam and marked them with a pen. The rotunda and fortress door are removable single pieces so the attackers can bash them down. 
I had to think about what sort of cannon to place inside, finally I went with large naval guns that can strike fear in any approaching ship; also I though about building a stone bridge but then decided that a large wooden one will do. Those thick planks can support large artillery pieces, and if the wooden bridge is broken down by enemy gunfire, it's easier to rebuild; I think the water between the two islands is shallow enough to either wade or easily swim through anyway.

Jan 14, 2019

Constructing The Rock Pt 4.


Internal decorations time while the outside surface of the main piece is drying. Of course it won't stay pink.
I'll take more pictures with better light of the rest. Progress so far includes cutting out, painting and drybrushing the main island piece and the three sand banks, constructing the cliff and finishing up the fortress. Stay tuned!

Jan 6, 2019

Constructing The Rock Part 3


The fort at the second tier is made from a piece of pink foam and clad in corkboard. Another more grainy cork mat is used to create the barracks. I'm sort of out of white so what I mostly use is sand mixed with black.


I took my BB gun and shot a bunch of holes in the ruined keep. The only problem was that is splintered the balsa wood floor. Next time I do this I'll have to make separate floorboard which can be torn up individually. 

Jan 3, 2019

Constructing The Rock pt. 2 - Scale

So the hardest part is to decide from the line drawing what scale should each component be. Based on the photos, the entire island is about three times as large as the attacking pirate ship, and the ship is about 25cm in total length (10" for more conservative people). 
I've made the mistake of just starting to cut out the base from pink foam and then of course everything turned out to be too small. Don't worry, I can still use these foam pieces for other stuff such as building the rock face itself.

The better solution is to work the other way around and create the smallest components first, and scale everything to those. The two smallest parts are the keep and barracks. Neither are extremely large but I thought about making them larger than the originals (they were just a hut and a ruined building). This means there's more space for a skirmish or small tactical game. Once these two are complete, I can measure everything both to them and the 4'x4' table I have. I won't mind building a larger island that can be used for other games.

Here's an explosion drawing of all the components in a 3D plan:


Although the keep and surrounding walls are on the same base, the keep will be separate so the dungeon carved in the rock could be reached. I can also make a 'side entrance' to the rock face and both could be removed independently, which would be quite cool. 

I think I have a revolutionary way to make the ruined keep, stay tuned for the next episode.


Jan 2, 2019

Constructing The Rock


Building this island fortress is my hobby project for January. When I prepare for something similar, I make detailed drawings until I have a working concept of the thing. In the meantime, I can have some ideas about execution as well.

The island should be about 50-60cm in diameter so it would fit a 4x4' table with enough space for approaching vessels.

The first thing I had to do was look at the photos taken from the game where I used makeshift objects to build the island, and think about recreating these objects for the tabletop.
  • The islands and sand banks will be made of pink foam.
  • The structures on the fortress will be created with a composite technique, balsa wood core and corkboard outer layer. Corkboard looks very much like stone/brick structures and I had used it in smaller quantity when making buildings for the Neue Böhnstadt colony, the concept is the same.
  • The rock itself will be made from pink foam and will have a built-in dungeon where prisoners would be held. This means I can spare some foam for later. I would cover the outside of the rock with snow paste, bits of rock, tree bark and various other stuff. (The snow paste I bought is more like pumice and I mostly used it to fill out figures' bases instead of its real purpose)
  • The gun emplacement on the smaller island will most likely be built out of pink foam bricks instead of balsa because the rounded form is easier to do this way.
  • The piers and the wooden decking of the port will be made from balsa strips.

So the project now has multiple main pieces that shall be handled and stored separately.
  • Three low sand banks
  • The base of the main island
  • The base of the smaller island
  • The small farm
  • The port and separate buildings (can be multiple pieces)
  • The rotunda
  • The fort (with separate walls so it could be a stand-alone structure)
  • The barracks
  • The rock itself
  • The keep on top of the rock
  • The surrounding walls on top of the rock
  • Two staircases
  • A bridge
  • I'm also building a pair of small ships for the siege.

Improvements made from the original gaming table:
  • The upper tier of the fortifications has a gun emplacement which can cover approaches the rotunda cannot. It should have a pair of smaller guns. 
  • The dungeon cut into the rock was not originally there.
  • The fortress is a fortress and not just an upper tier. It can only be approached from the port.
  • There is a small ledge on the island on the western side where a few palm trees can be placed.